
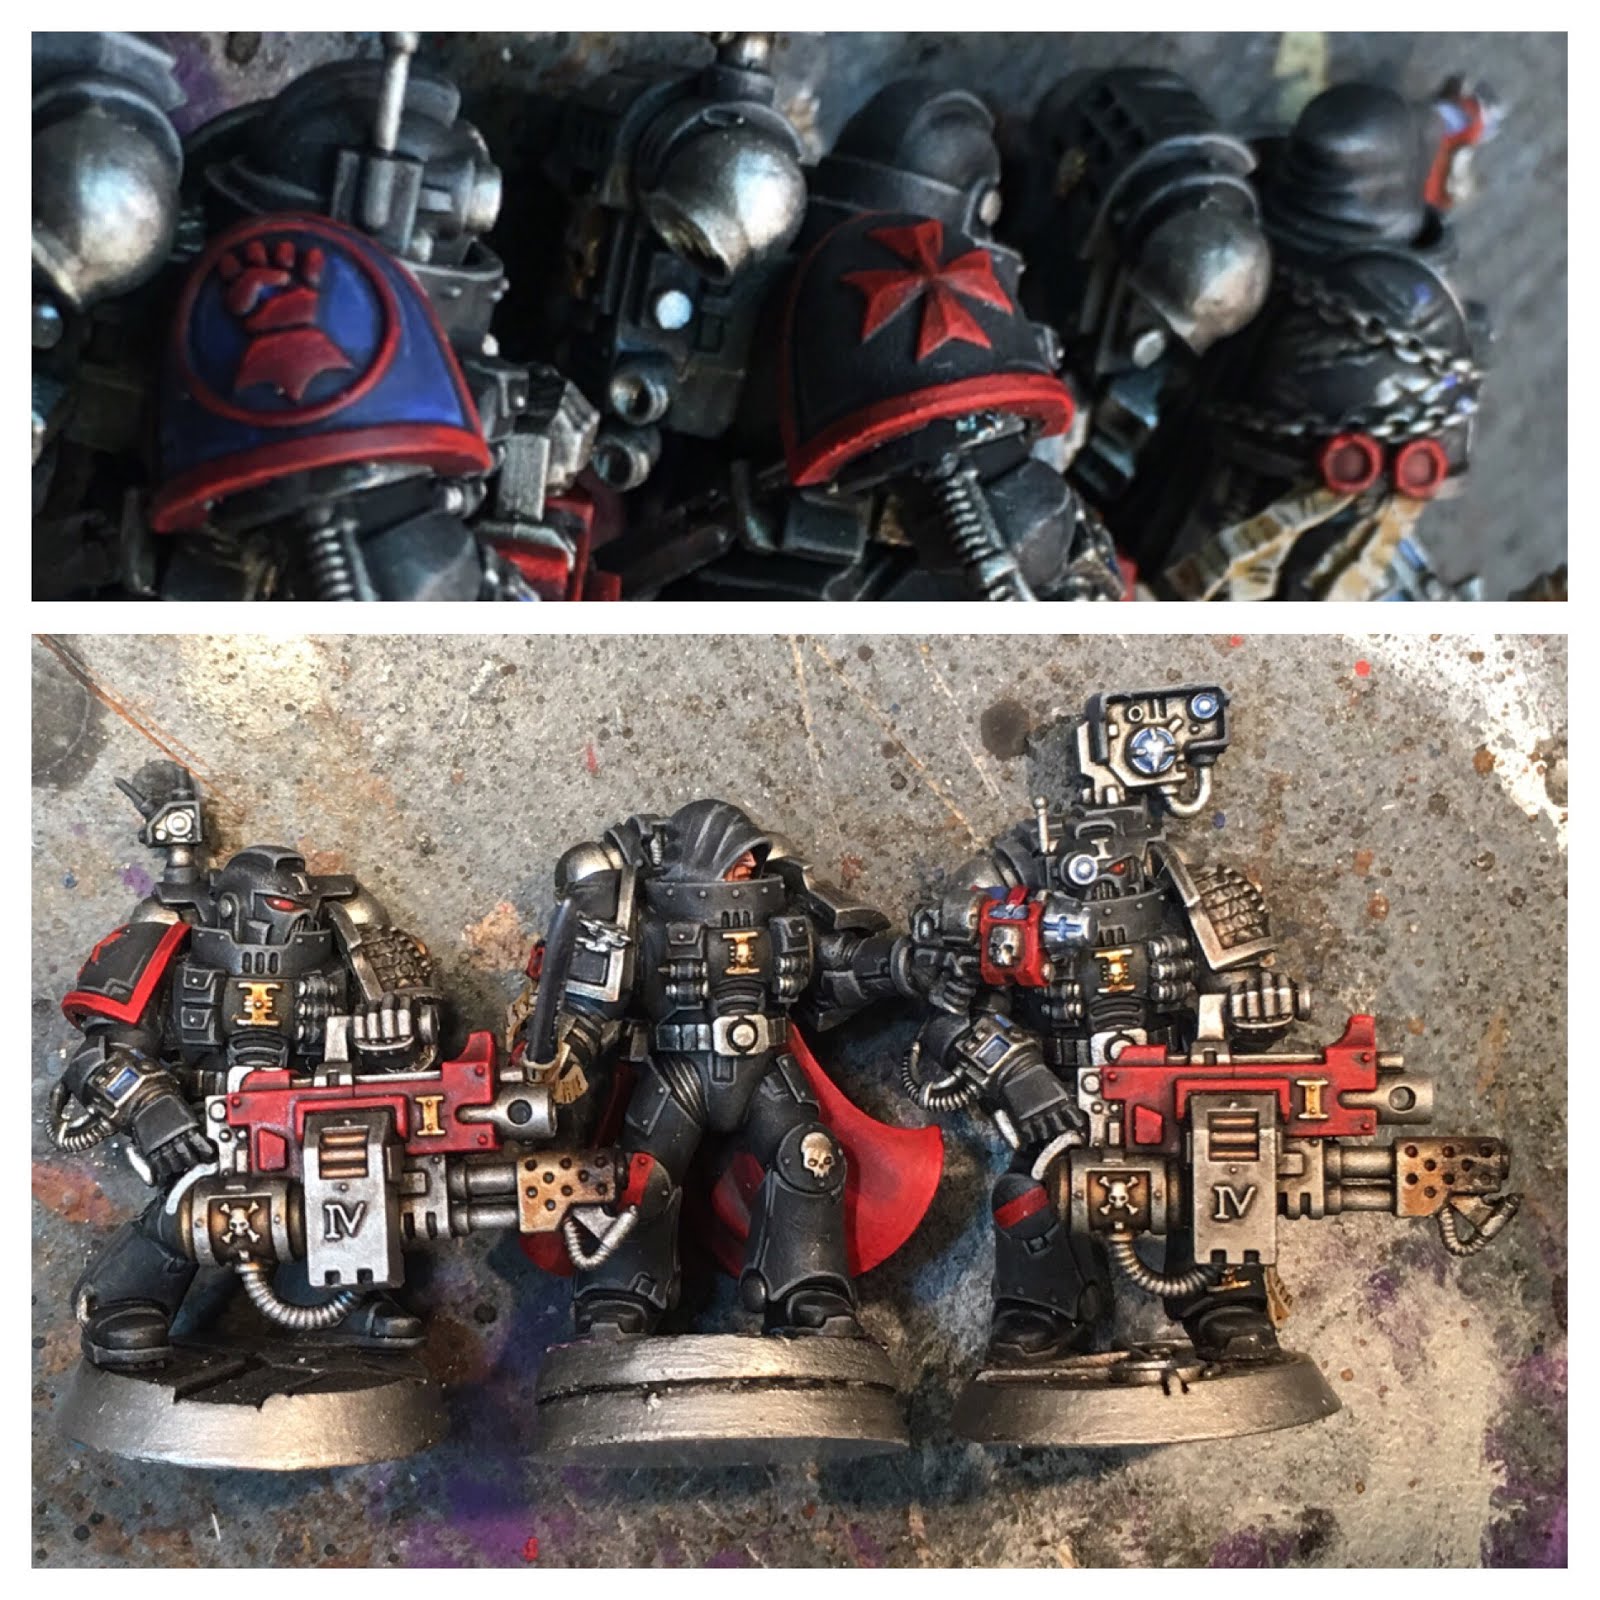
I've done a lot of painting lately but have fallen on on blogging. This commission of Alpha Legion Marines is actually finished. I'll attach an image of the final product at the end. The pictures at the top shot the finished bodies and torsos with the weapons blue tacked on. Below are the finished weapons.
I did a lot of subtle conversions on these minis to make them Chaos but still look like soldiers. The client's only real instructions were to make them "tactical" and I too that to mean, less spikes and more pouches. I bought some MK 4 bits and swapped the out for some CSM bits. I only charged the client for the Mk 4 bits as I kept the bits that were not used. I call that fair trade for my bits.
I also added in some Deathwatch and SM Scouts pouches and bullets to the chest plates. I kept some of the belt pouches from the Mk 4. Everyone got one set of those and something else. I tried to keep the accessories varied. Some got knives other got grenades.

I also did conversions with two of the Marines. The "leader" is shooting a drum-fed Bolter one handed and has a knife held in reverse grip. I really like how he turned out and I am totally going to do this on some of my own Marines. I also gave him a CSM Raptor helmet for an added touch of Chaos.
Also mocked up a "second in command" of sorts. The client only wanted two sniper rifles and left the other weapons up to me. A real Seeker Squad all comes with special Combi-bolters but the budget did not allow for getting these bits. I decided to give them each something special anyway. The "leader" carries that beastly drum-fed Bolter and his second in command has my version of a
SAW, a drum-fed Combi-bolter. He also carries a bandoleer of grenades.
As seen in the completed images, I took CSM backpacks and trimmed them down. This made them look Chaosy but still like soldiers. I was really proud of these as they look like a transition from SM to CSM.
I tried something new for these minis. The client wanted them matte black but I talked him into doing very dark blue as black. I tried something similar with the
Dark Eldar also for Vyndica when I did a very dark purple. It was not as successful and I had hoped but I could have painted straight black on the open flat places to get it darker.
I wanted to something to tie these minis in with the Alpha Legion minis like the
Lord that I painted for the same client. I used a small about of interference paint and some blue and green washes to get a subtle but similar effect on the pauldrons. I just did it on the dragon head and I think it came off well.
I cut this guy a bit of a break on the price as this is his second commission. Normally the lest I charge for a basic small mini is $15-$20 each with a minimum bench fee of $40. Less than $40 and it not really worth my time. Normally assembly, conversions, painting, basing, clear coat and shipping would have been closer to $100 and most likely over. Dude only had $50 to spend so he over-spent his budget and I came down in price. I threw in some metal Alpha Legion shoulder guards at no charge because I still have 60 of them laying around.
 It has been about a month since I acquired the terminal Frostgrave bug and I have yet to even play a game!I have spent the time waiting for the host to prepare the game board by painting some of the Zombicide: Black Plague minis for my warband. I don't know that I would have ever found the motivation to paint these minis if it were not for Frostgrave.
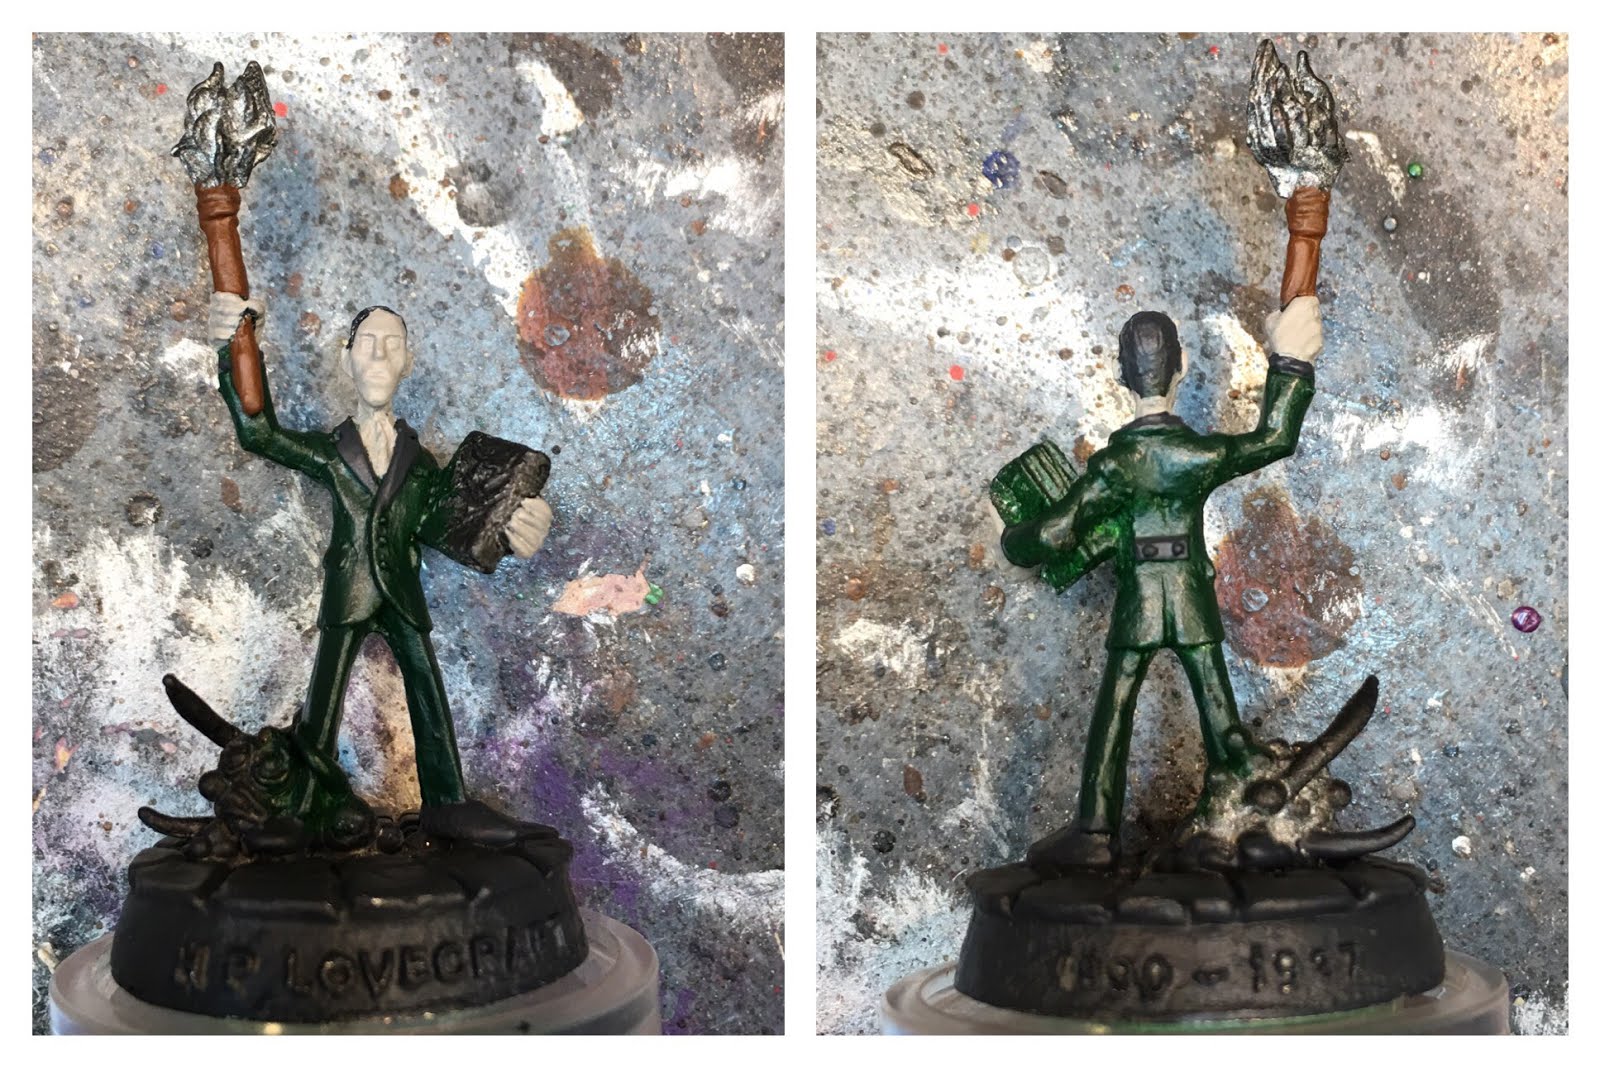
 Tim the Enchanter is running the show and his Apprentice is Milo in the pointed hat next to him. I picked two ranged folk Arya the Huntress and “Deadeye” Joyce Dahl with the crossbow. In addition, since my Wizard and Apprentice are armed with crossbows since they really lack good ranged attacks compared to the damage-dealing Elementalists. Backing up the ranged contingent are the thugs of Candy, Bruce the knight of insufficient light, and Bruenor Stonebreaker each just carrying a single hand weapon despite Bruce having two axes and Candy having a dagger tied to her apron strings. The heavy hitter is the Infantrymen known only as the Ax Man armed with a two-handed weapon. I have two thieves for the smash and dash named Locke de Carr (in purple) and Brother Joe (with the green hood and torch). I also have minis for Completely-Headless Carl for the "Raise Zombie" spell and the Gmork for when I get a kennel. If you are keeping track, that is 12 members which is the maximum that I can see.


