Friday, May 29, 2015

Rehab - Tomb Blades

My test mini is finished for rehabbing the Tomb Blades. The painting went pretty fast and the results are ok. There are still some weird-looking places but it looks ok. 

Now, I just have to do it 5 more times before I can put this mini nightmare behind me. 

Double Fail - Tomb Blades

The heat gun fix not only did not work great but it warped the plastic minis. I bought a fancy heat gun with digital adjustable heat and no help. I tried gently heating all surfaces and no joy. I think there is just too much variation in thickness of plastic for it to work. 

The worst part is that it bent and warped the plastic. I tried the heat gun on three minis, and all three are warped in some way. It is hard to tell from the pictures, the the one on the right is warped to the left. I doubt that anyone will be able to tell on the table top but it irks me. 

The new plan is to repaint them. The fogging ruins the mini by ruining the shading. I am going to reapply all the shading and then rehighlight the minis. This is not ideal and certainly not easy. 

Tuesday, May 26, 2015

Failure - Tomb Blades

I am so mad at myself that I could spit. I tried to clear coat the Tomb Blades and all of them fogged. It was hot and humid and I pushed my luck a little too far. Most of them are ruined. I am going to try this guys heat gun fix but I don't hold out much hope. I may try the oven or pick up a heat gun. 

Monday, May 25, 2015

Finished - 6 Tomb Blades

Finally, all 6 of them are done except for the weapons. The side mounts for the weapons are magnetized as well as the slot on the back for the support system. There is also a magnet in the base that hold it to the stand. It is just easier to mount them that way and no chance of it breaking. 

I painted them in my Rusty Necron scheme with the rust parts being brown, stipple red, stipple orange, wash Agrax Earthshade then touch up red and orange. I do the chips with Carcharodon Granite followed by Chainmail then washed Agrax. I touch up the chipped areas with Mythril Silver. the clearly inorganic components are painted Boltgun or Chainmail then washed black. I do a broken edge highlight of Mythril Silver. There are some aread that I wash blue to give contrast with the orange. 

Retail for the kit is $41 which is a little crazy considering you only get 3 minis. Paint is worth about $60 for the set of 6. Magnatizing them adds about $5 onto each model bringing their replacement value to $172.

Saturday, May 23, 2015

On the table now - Tomb Blades

I have been working real hard to get these guys done. I don't know that I ever would have bought or painted these Tomb Blades but they are required for some reason in a Decurion Detachment.

Friday, May 22, 2015

Finished - Green Cow of Nurgle

I found this little guy in my bits box and I have no idea what he is. I took a cue from the mutated hand and three circles on his weapon and guessed that he was some sort of WFB Nurgle Beastmen thing. He was already painted... poorly, so I painted over him with Bleached Bone and started the process for Nurgle's Skin. Mixed in there are metals, Simple Rust and leather. There is a little bone and wood for the stick. I really need to do a step-by-step for my common color schemes. 

I'll probably use him ad a Herald of Nurgle.

No idea what this mini is worth but I could probably replace him for $10. Paintjob is worth $20 making his replacement $30. I would trade him for $45.


1-42-17 Update: I traded this mini with these two worms for a Dark Angel Codex. 

Monday, May 18, 2015

Finished - Palanquin of Nurgel

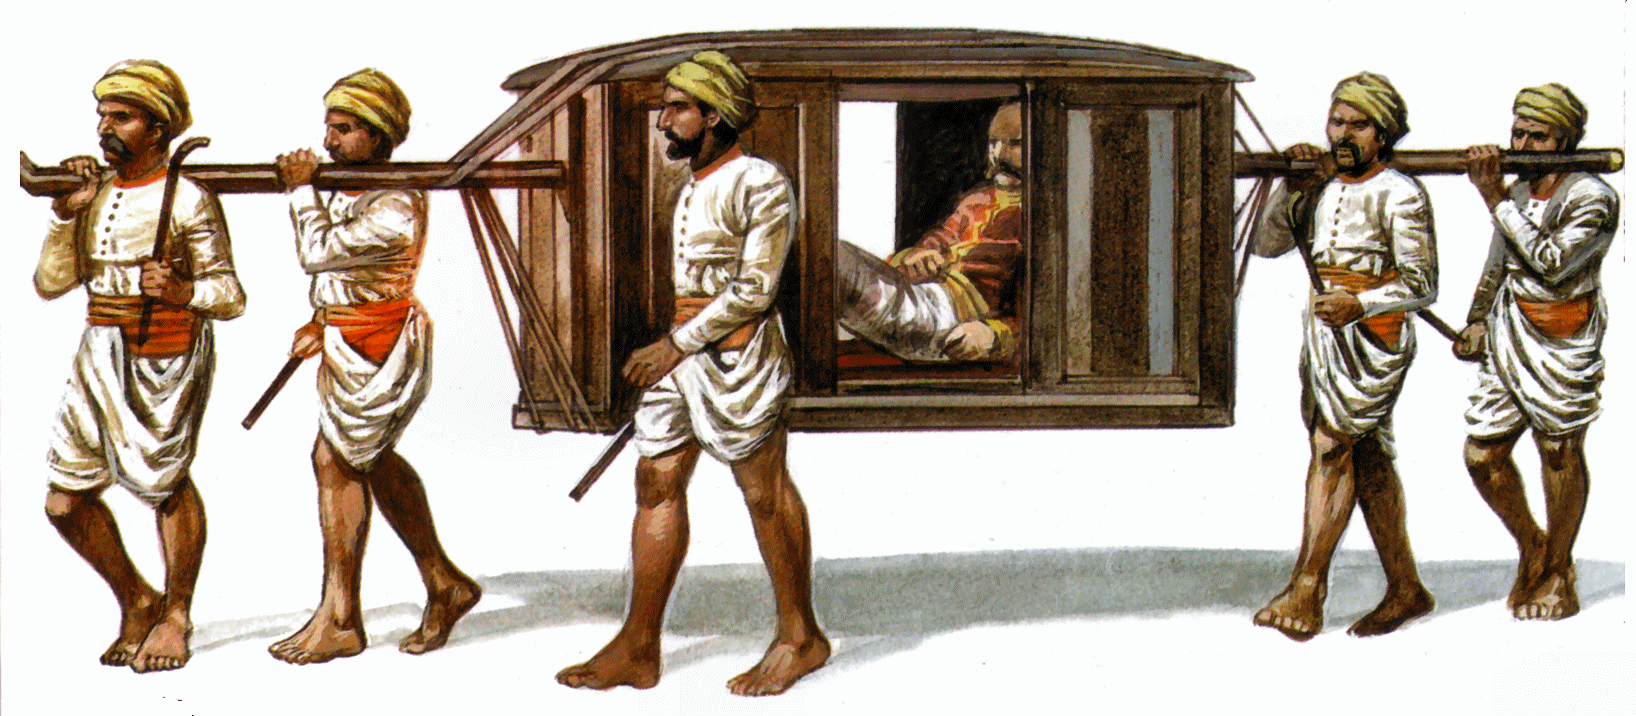
I have wanted to build modular versions of the Daemonic Mounts for a while and the easiest to do was the Palanquin of Nurgle. Now, a Palanquin is supposed to be a covered box supported with sticks and born aloft but the backs and sweat of the unfortunate. I skipped the sticks and the box, but this is what I have. I took inspiration from Epidimius and had a surface help up by a host of Nurglings. 

I kept it simple by making a disc that was slightly bigger than a 40 mm base and made a guard for it out of plasticard. I put a stand on it to later secure to the base. I used a mix of old metal Nurglings and newer plastic ones. If I had been thinking, then I would have used 7 of them, Nurgle's favored number. 

I did incorporate the "three" symbol into the top of the palanquin, as you can see from above.